How to use the Google Site Kit plugin
Google is everywhere. Most of us use the search engine every day, multiple times. If you’re a webmaster, you probably also rely on at least one of the platform’s advanced tools, such as Google Analytics or Search Console. Keeping track of data across so many different services can get tricky, however, which is where Google Site Kit comes in.
With the official Google Site Kit plugin for WordPress, you can pull data from all the services you use within the Google family. In this article, we’ll show you how the plugin works and talk about when it makes sense to use it.
Let’s get to work!
An Introduction to Google Site Kit

Google Site Kit is a handy plugin that enables you to set up accounts with multiple Google webmaster services and access their data, all without leaving WordPress. The platforms you can access using Site Kit include Search Console, Google Analytics, Google AdSense, PageSpeed Insights, Tag Manager, and Google Optimize.
Without Site Kit, you’d need to jump between each platform to access your data as needed. The more of these services you use on a regular basis, the more sense it makes to use Site Kit to simplify your workflow.
Keep in mind – Site Kit only enables you to interact with each service in limited ways. At its core, the plugin is all about letting you access key data without leaving your website. However, if you want to configure each tool, you’ll still need to visit the individual platforms.
Key Features:
- Access reports from key Google services without leaving your website
- Set up new accounts for each service right within your site
- Pick and choose what services to set up and monitor
Price: Site Kit is 100% free, although some of the services it integrates with have paid options.
A Guide to Using the Google Site Kit WordPress Plugin (In 2 Steps)
Getting started with Google Site Kit is remarkably simple. You don’t even need to set up accounts with any of the services it supports beforehand – you can do so using the plugin. Let’s take it from the top!
Step 1: Set Up the Plugin and Connect to Google
To get started, go to your WordPress dashboard to install and activate the official Site Kit plugin. Once the plugin is active, a welcome message will appear. Click on the Start Setup button to get the show on the road:

The first thing you’ll need to do is verify ownership of your website, by signing in with Google and setting up Search Console access:

If you have more than one Google account, the plugin will ask which one you want to use. You will also need to grant the service permissions for your website:

Finally, the plugin will connect your website with Search Console, adding it to the service in the process.
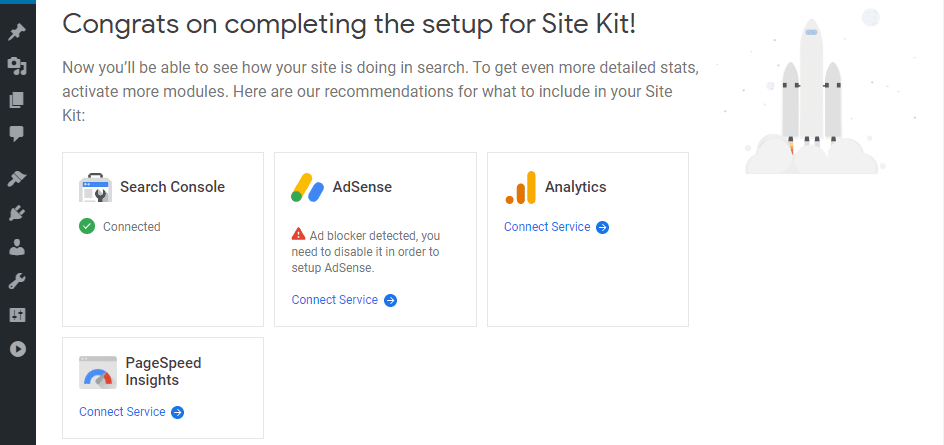
This process inherently involves signing up for one Google tool. Next, let’s check out how to add additional services to your website.
Step 2: Select Which Tools You Want to Use
After you complete the initial setup, Site Kit will show you a list of additional services that you can connect to your website. The process itself works much the same for each service. As an example, we’ll select the Analytics option.
Once you click on Connect Service, Google will confirm which account you want to use. You’ll need to grant that service access to your website, just as during the first step. Finally, you can review the permissions you’ve set, and click on Allow:

Next you can review your connection settings, and set up a new property and profile. After that, you’ll want to select Configure Analytics:
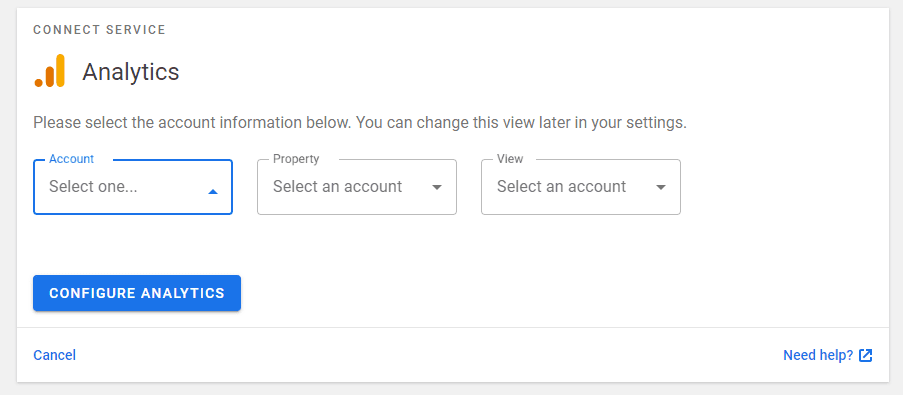
The plugin will automatically gather the information it needs, without you having to do anything else. At this point, you’ve set up Google Analytics for your website without having to leave your dashboard:

After that, you can repeat the process for any other services you want to connect. When you’re done with that, you can access your Site Kit overview or dashboard, which we’ll cover in the next section.
Understanding Your Site Kit Overview and Individual Reports
Once you setup the plugin and connect it to the services you’d like to use, you can access your data from the new Site Kit tab in your Site Overview section:
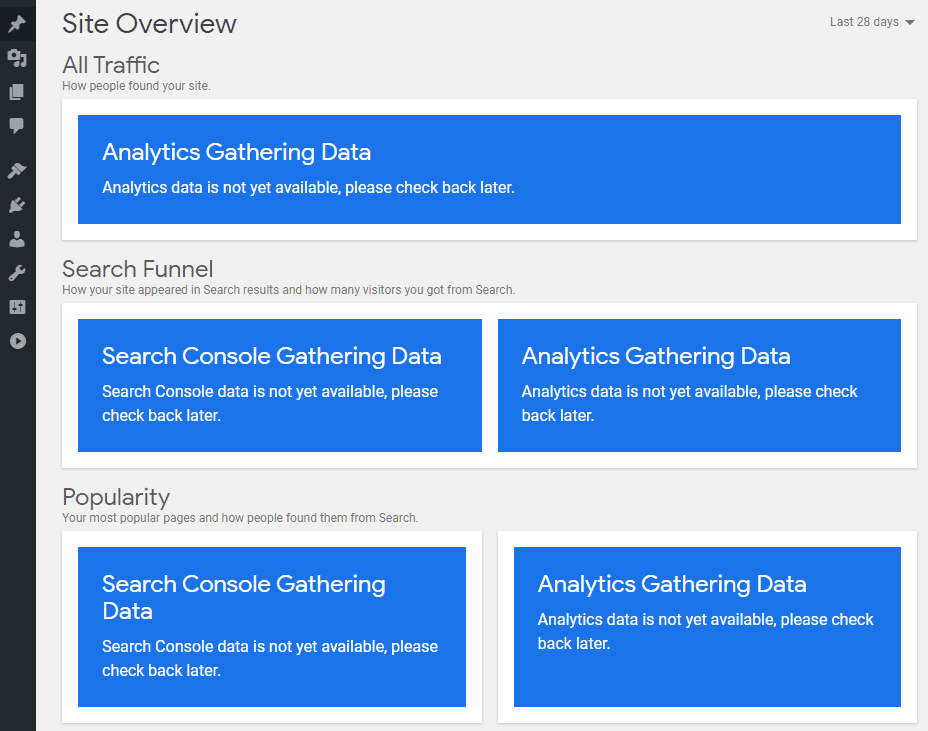
Since you just set everything up, you may need to wait a while until the services collect enough data to display reports. Once that happens, the first thing you’ll see on this page is an analytics report:
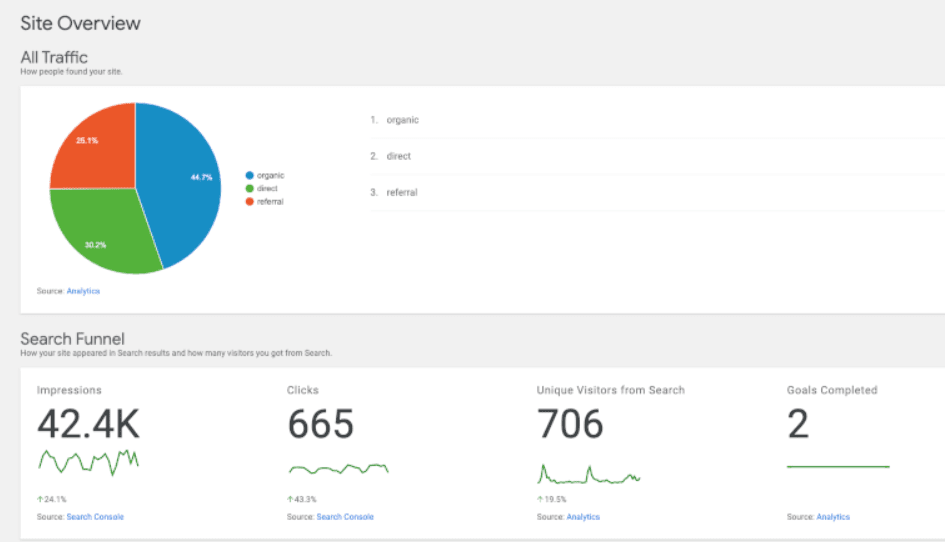
Data gathered from Search Console should appear in the overview as well:
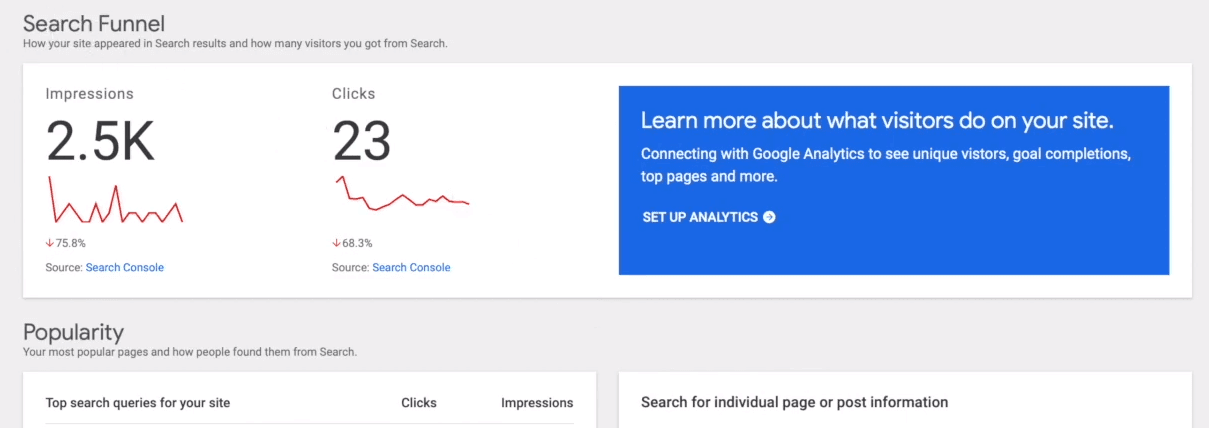
If you scroll to the bottom of your Google Site Kit overview, you’ll also get access to page performance information:

Site Kit also sets up individual tabs for each service you connect to your website. Clicking on each one will show you more in-depth reports for that particular service. For example, if you jump over to your Analytics tab, you can check out your most popular content for the last month:

At any time, you can connect new services to WordPress by going to the Site Kit > Settings screen:
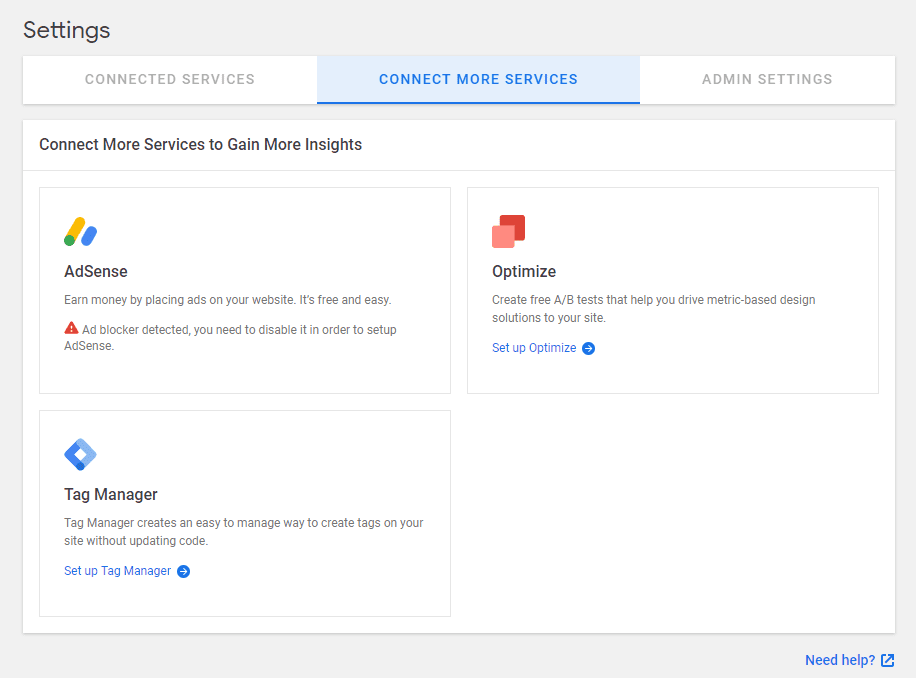
That’s pretty much it – once you connect the services you want, you’ll always have access to crucial information right within your dashboard. Then you’re ready to start using these metrics to improve your website.
Conclusion
Google offers a fantastic suite of tools and services for webmasters. Search Console, Google Analytics, and PageSpeed Insights are some of the best services you can use to get insights about your website. However, the more tools you use, the harder it is to keep track of data across all of them.
Using Google Site Kit, you can integrate your WordPress website with all your favorite Google tools in just two steps:
- Set up the plugin and connect to Google.
- Select which tools you want to use.

